Use sustainable materials where possible - wool felt and organic cotton are better for the environment.
How to make felt animals: easy step-by-step guide

Content editor
Get creative and make your own stuffed felt animal with our simple instructions. This fun craft activity is ideal for nature-loving kids and grown-ups, so take inspiration from our wonderful woodland wildlife and get stuck in.
As a tree grows in the woods, so do the creatures that live beneath them. Everything works together in a balanced ecosystem; every animal, insect and plant depends on one another to thrive. Like us, wildlife needs trees. And we need wildlife for a healthy planet.
Native species across the UK depend on us to protect the woodland they call home. Why not celebrate our quirky creatures by creating your very own stuffed animal to share your home with?
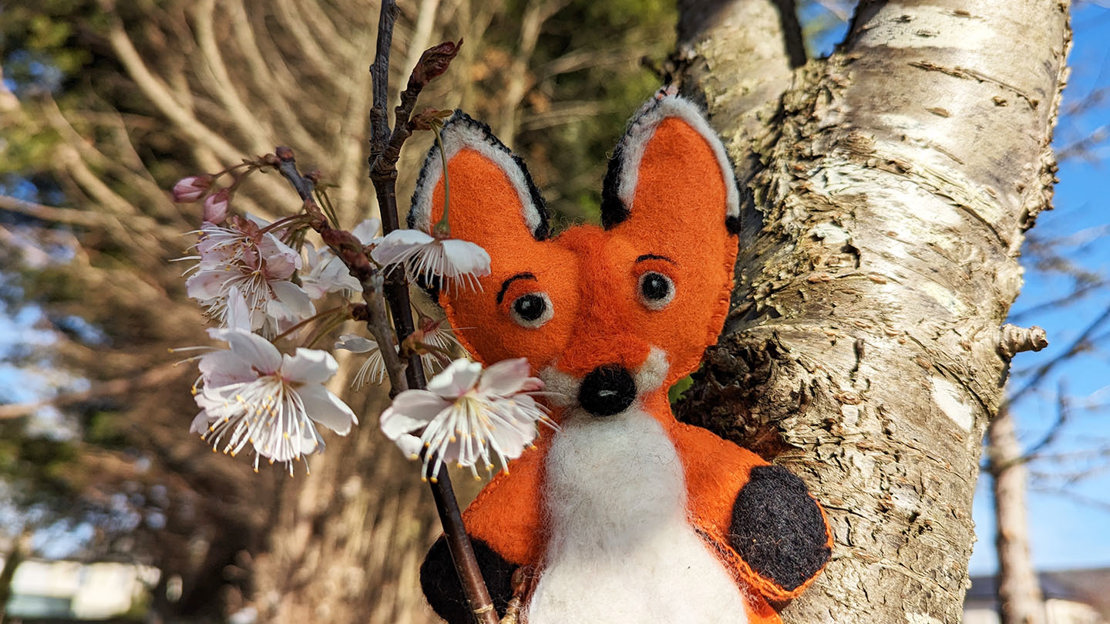
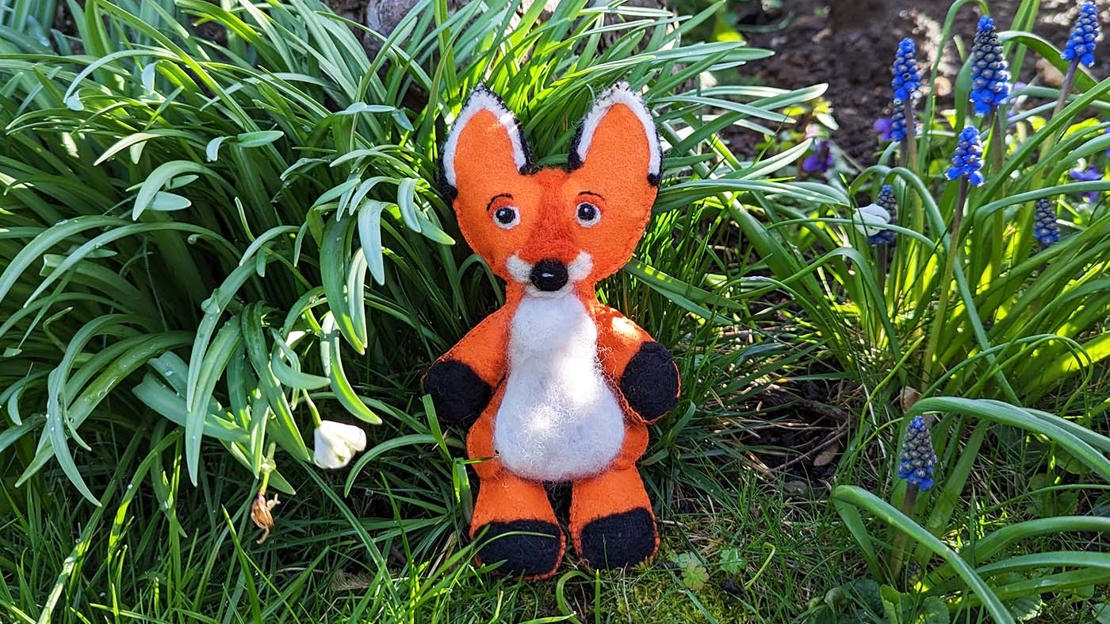
As you can see, I’ve chosen to create a fox. You can either follow this example and make a fox of your own, or choose a different animal to bring to life. If you’re feeling extra creative, you could even invent a new creature yourself and imagine what they would eat, where they would sleep and what they would look like!
How to make a felt animal
Before you begin, gather all your craft materials together on a suitable work surface.
You will need:
- felt or scrap fabric
- paper
- pencil and eraser
- scissors
- pins
- sewing needle
- thread matched to your fabric colours
- stuffing such as rice or wool
Step-by-step instructions
Follow our simple guide to make your animal friend. You can make this fox or create any animal you choose – hedgehog, badger or butterfly!
Step 1
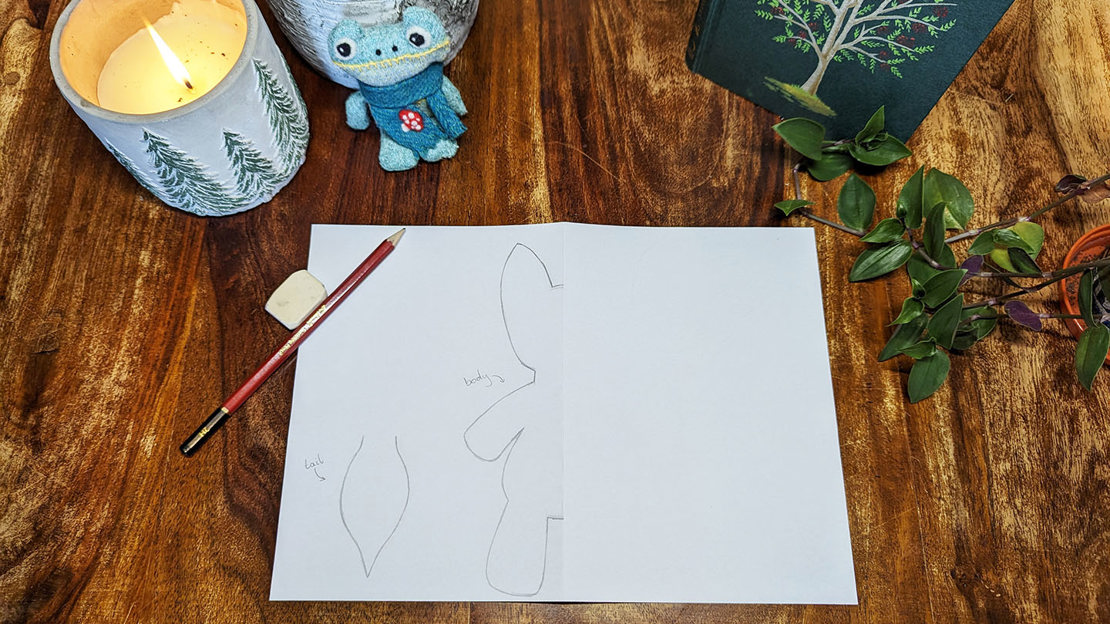
Fold a blank piece of paper in half. Draw on side of your woodland creature along the folded edge (see example below). Keep your outline simple and make sure there are wide openings at the arms, legs and neck – this will leave plenty of space for stuffing. If your animal has a tail, remember to draw a separate outline for it – you’ll attach this later on.
Discover more activities with Woodland Trust family membership.
Step 2
Keep your paper folded and cut around your outline. Open it up to see your template.
Step 3
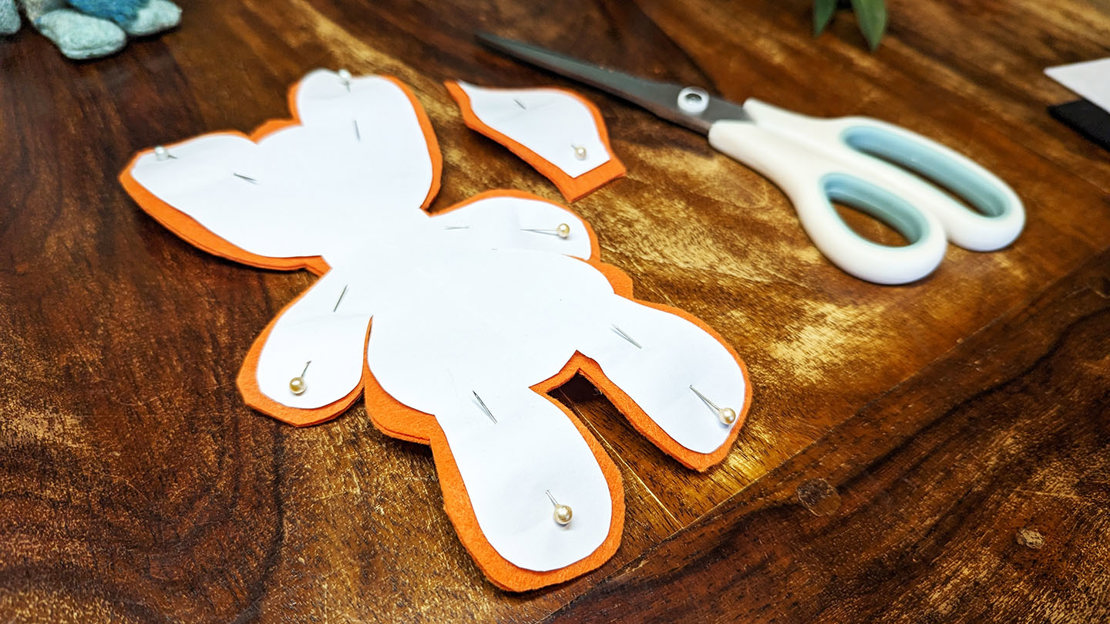
Place two layers of your chosen fabric on top of each other. Arrange your template on top and pin it all together.

Step 4
Cut around your template, leaving a small border around the edge. This will give you more space later when you sew it together.
Unpin the template from the fabric when you've finished cutting it out. You should now have two pieces of material for each part of your creature (for example, body and tail).
Needle felting is a technique where you repeatedly poke a barbed needle into wool to create a fluffy felt. It can be used to add texture to craft projects and can even be formed into 3D shapes.
Step 5
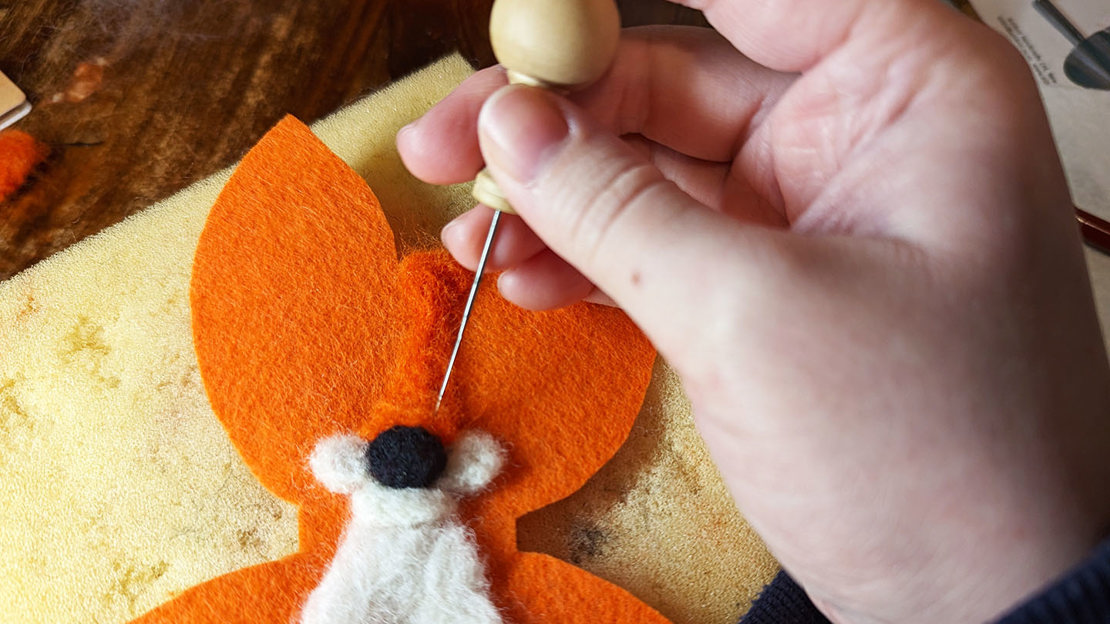
Now you get to decorate! Choose one piece of fabric for the front of your creature and give it a face and any other features you see fit. I like to add my details using needle felt as I find it a fun way to add some charm. It’s easy – you’ll need some loose wool, a felting needle and a sponge to protect your work surface. Then, minding your fingers, just jab jab jab!
If you’d rather not using the felting technique, you can add character to your creature in a few different ways. Try embroidery using a needle and thread, or cut and stick small pieces of material using fabric glue – it’s up to you!
Handy tip: start with the nose in the lower centre of the face. This will help you work out where to place the eyes and mouth.
Step 6
When you’ve finished decorating, place your fabric pieces together with the decorated sides facing outwards. Pin them together and sew around your animal, leaving a 4-5cm gap at the top (this is where you’ll add the stuffing). Remember to sew up your animal's tail ready for stuffing, too.
You can hand stitch or use a sewing machine. I like to use a simple blanket stitch for that cosy, home-made look. Sew your line about half a centimetre from the edge of the fabric to prevent gaps.

Step 7
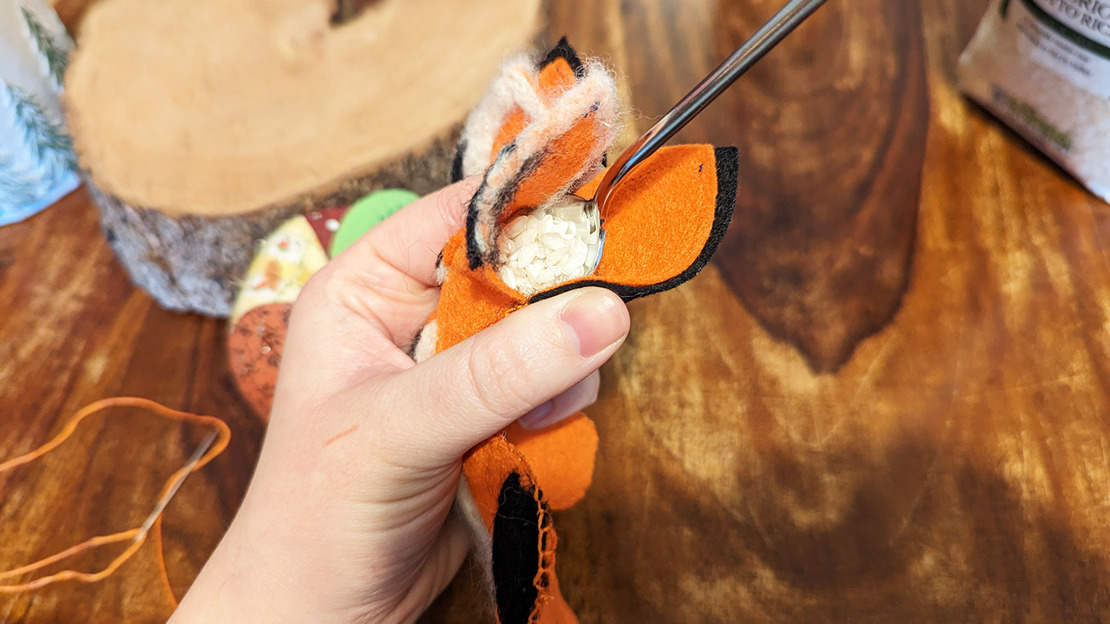
Fill your animal through the hole you’ve left at the top and add a small amount to the tail, too. Risotto rice makes an unusual but excellent choice of sustainable stuffing, with the added charm of creating a weighted stuffed animal.
Step 8
Finally, sew up the gap to stop the stuffing falling out and attach your creature's tail.
Once you've finished, give your forest friend a name and place them where you'll enjoy them most. They'll also make a wonderful handmade gift for a fellow wildlife enthusiast!
Love nature crafts?
Discover more activities with Woodland Trust family membership.
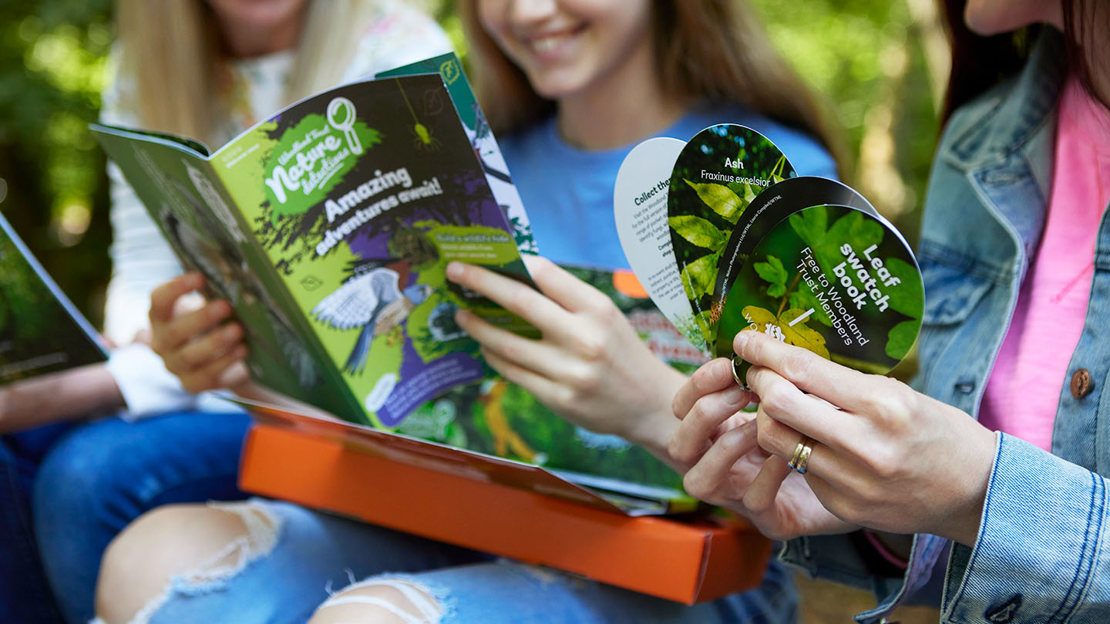
When you join, you'll receive activity packs every season, stuffed to the brim with outdoor adventures, wildlife spotting, arts and crafts, recipes and puzzles.
It's ideal for families who love wildlife. Plus, as members, you'll help us plant trees and protect woods, creating a healthier planet for future generations.
Get wildlife activities delivered to your door
Our family membership helps you enjoy nature all year round with children's activity packs, our member magazine and a handy tree ID guide.
Find out more about family membership

